Uncategorized

WORK YOUR OUTERWEAR


work your outerwear, how to wear large coats, large coats, womens fashion, what to wear under a coat, layering techniques, cold weather fashion, winter fashion

  • Puffy coats can cause a bulky look. Pair fitted clothing with this coat, but balance it out with some bulky boots.


work your outerwear, how to wear large coats, large coats, womens fashion, what to wear under a coat, layering techniques, cold weather fashion, winter fashion
  • Fur vests and coats (faux of course!!) can either look really chic or really sloppy. Dress your fur up with blingy accessories, denim, and girly tops. Subtle sparkles can really complement a fur piece, but don’t overdue it!


work your outerwear, how to wear large coats, large coats, womens fashion, what to wear under a coat, layering techniques, cold weather fashion, winter fashion
  • Long coats can be a beautiful way to stay warm, but anyone’s figure can get lost in this coat. Platform booties with tights look great because they elongate your figure so you aren’t drowning in the length of the coat. If there are quite a few buttons on the jacket keep your accessories subtle. 


work your outerwear, how to wear large coats, large coats, womens fashion, what to wear under a coat, layering techniques, cold weather fashion, winter fashion

  • Contrast sleeves are very popular this fall and winter. I have seen so many different combinations, but the denim and cotton mix seem to be more fitting and comfortable.  Kick back with this coat, paired with leggings, and your favorite graphic T-shirt or tank top. Top it off with your favorite pair of kicks or boots and keep the accessories simple and style specific. 


work your outerwear, how to wear large coats, large coats, womens fashion, what to wear under a coat, layering techniques, cold weather fashion, winter fashion

  • Coats with a cowl neck or excess fabric are also fun to play around with this winter. To avoid excess bulk with these sweaters, skip the scarf. With the outfit above, I would bring the skirt to mid-waist and tuck the tank top in. The skirt is pretty, but I love the edge that the boots give the whole outfit. As simple as it may seem, there is a lot going on in this outfit so keep the accessories down to a minimum.
Uncategorized

GET DRESSED, WE’RE GOING OUT

natalie craig, plus size fashion blogger, plus size fashion, chicago fashion, chicago chic, chicago blogger, versace, forever 21 leggings, forever 21 sweater, cutouts,


natalie craig, plus size fashion blogger, plus size fashion, chicago fashion, chicago chic, chicago blogger, versace, forever 21 leggings, forever 21 sweater, cutouts,
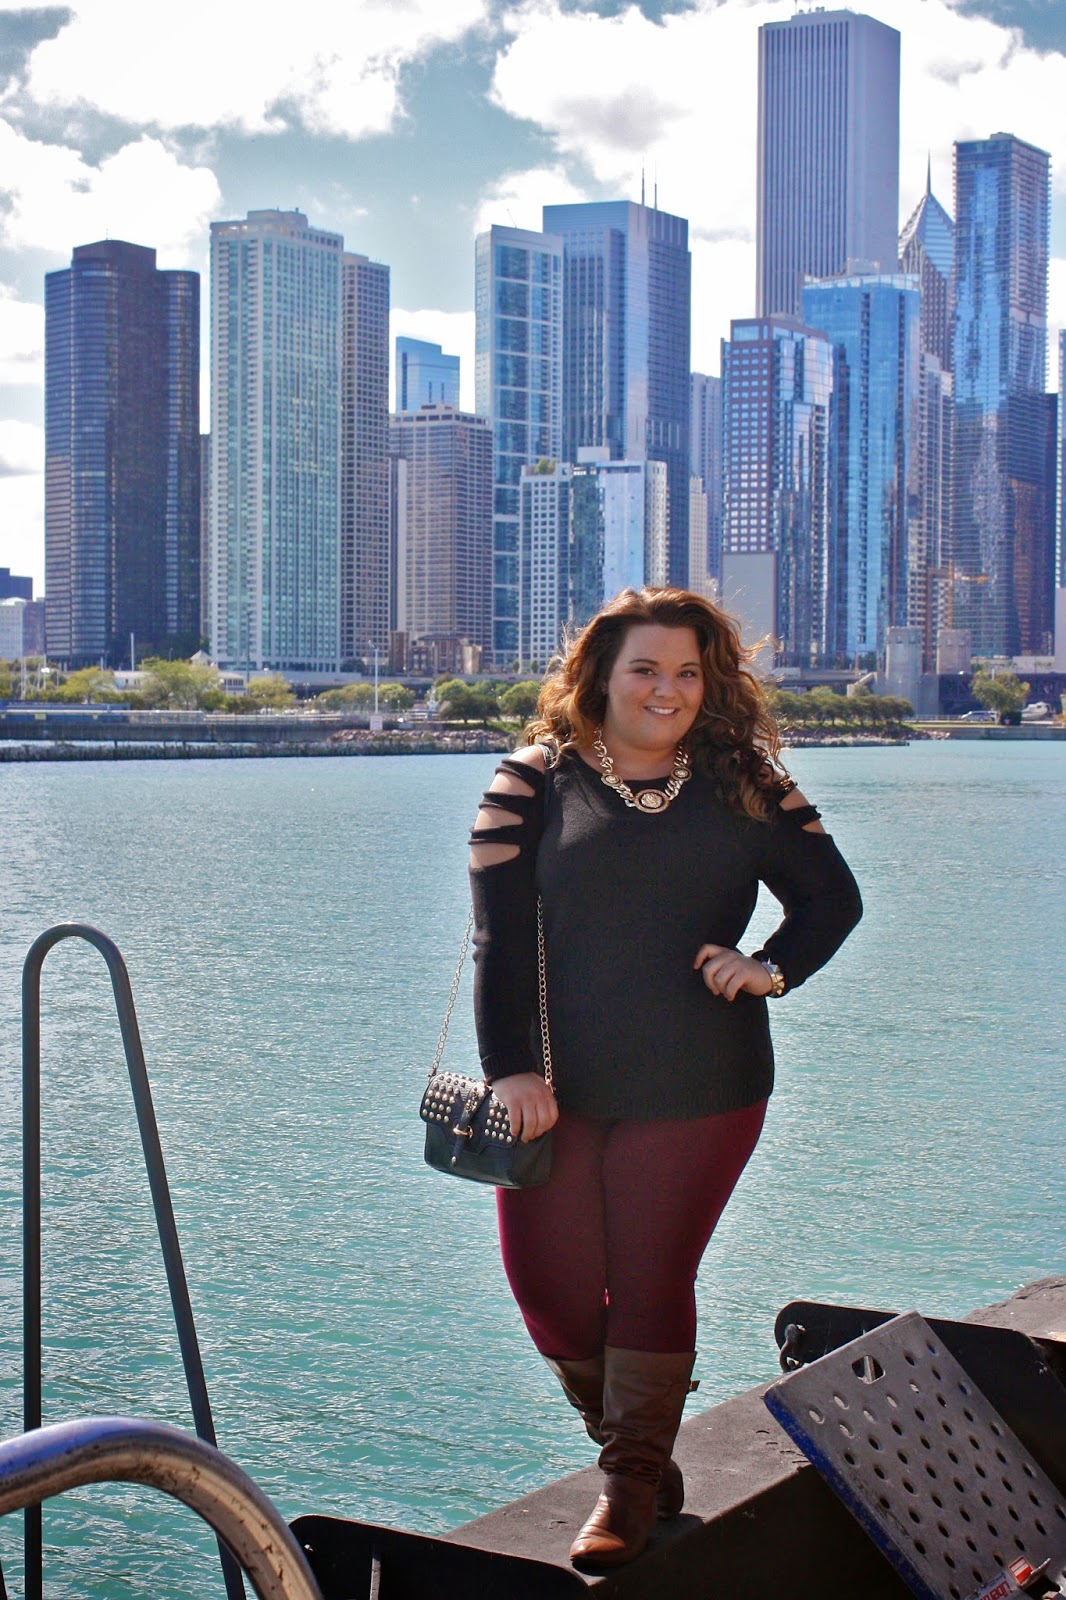
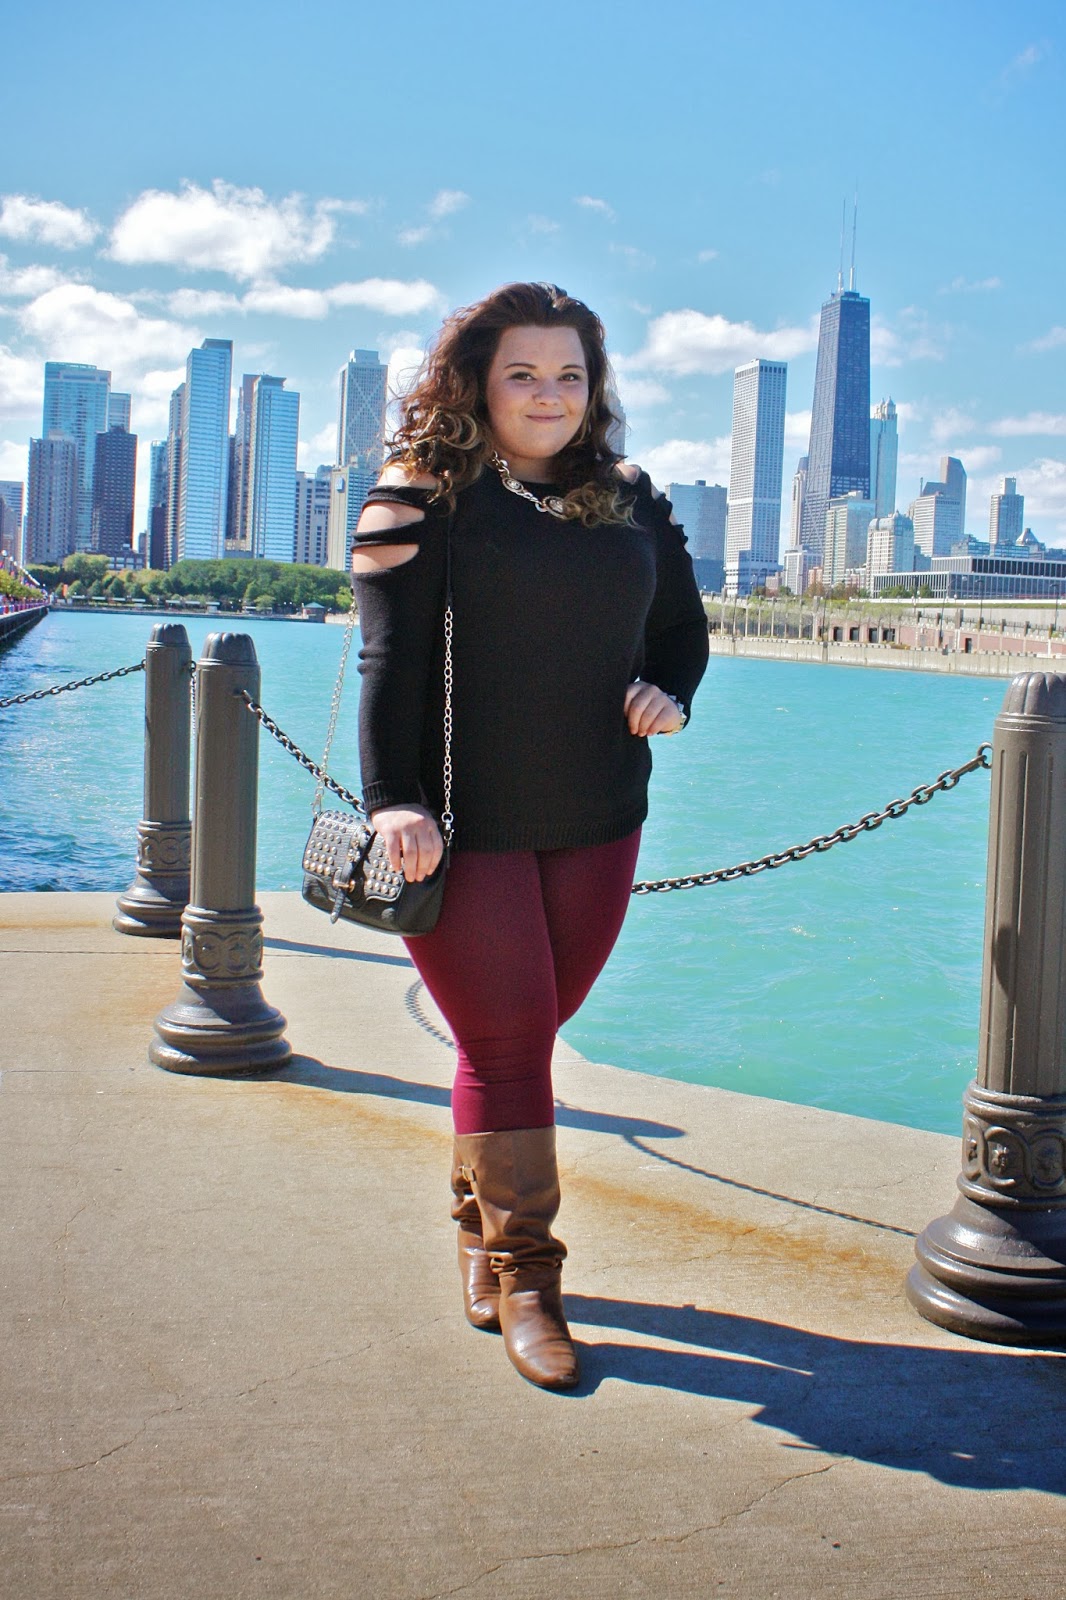
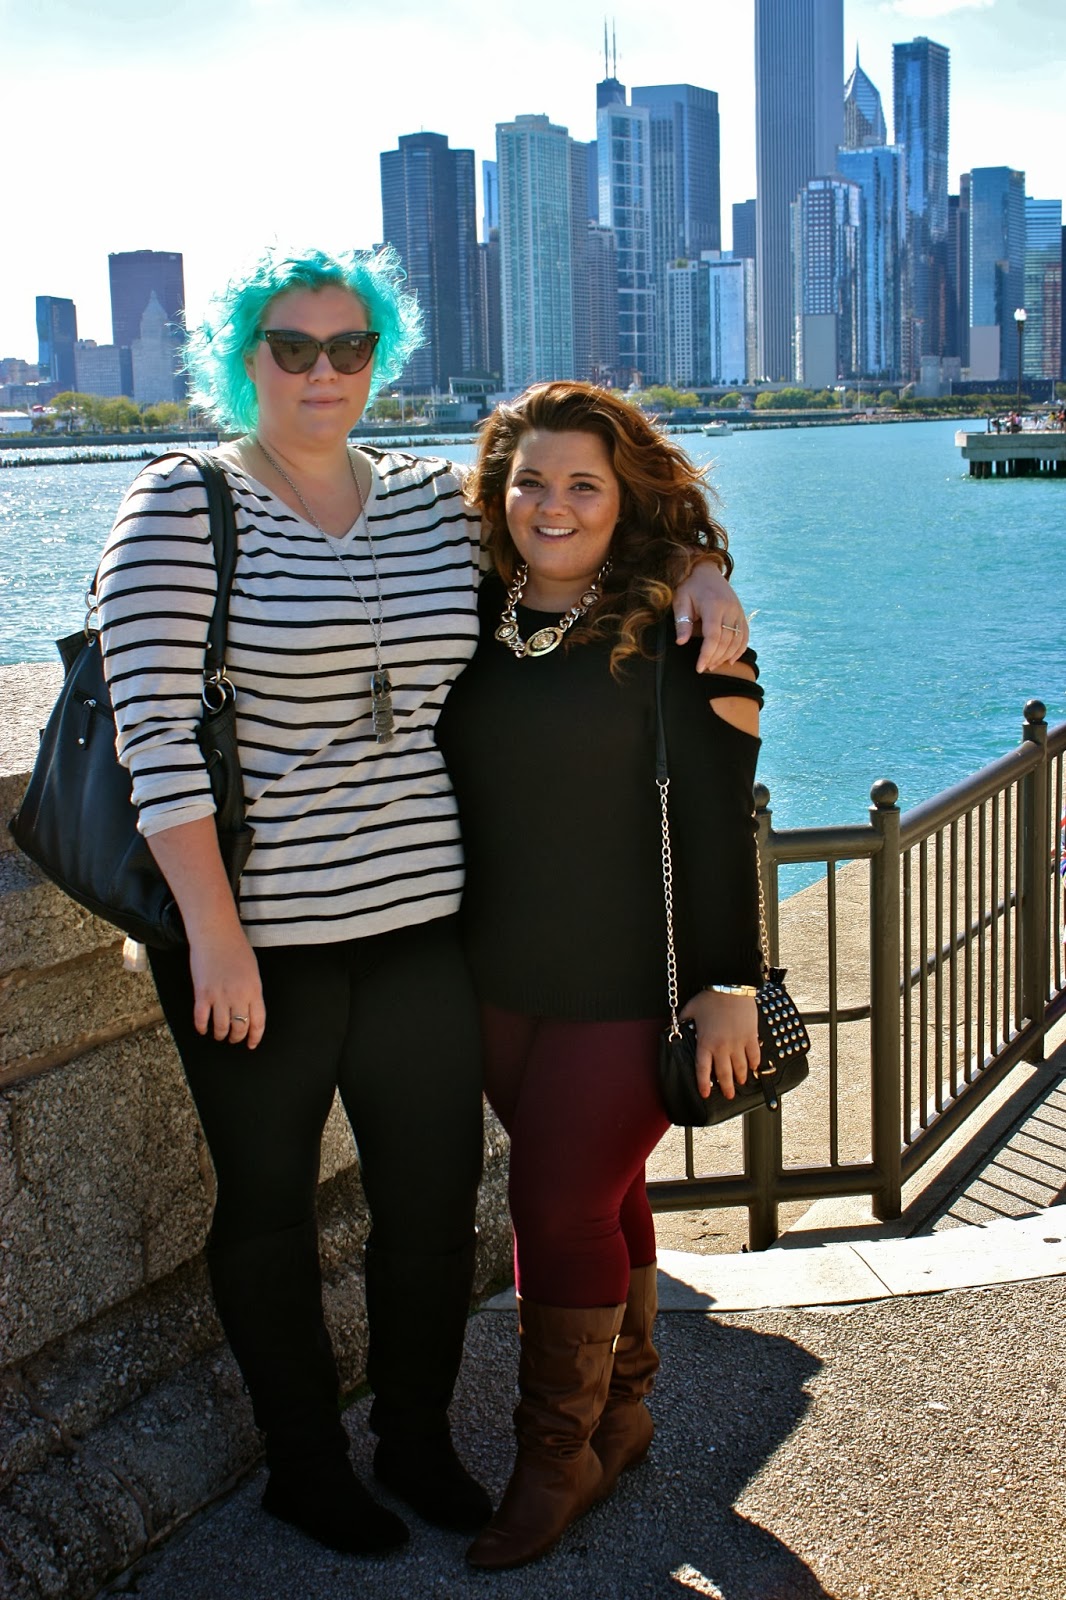
I spent the day out at Navy Pier with my roomates! We all played photographer and enjoyed the ultimate view from the top of the ferris wheel. When you get so busy and caught up in school, work and internships you forget to appreciate the little things about the beautiful place you live in. So it was nice to get all dolled up and fall in love with the city all over again.


natalie craig, plus size fashion blogger, plus size fashion, chicago fashion, chicago chic, chicago blogger, versace, forever 21 leggings, forever 21 sweater, cutouts,


natalie craig, plus size fashion blogger, plus size fashion, chicago fashion, chicago chic, chicago blogger, versace, forever 21 leggings, forever 21 sweater, cutouts,
| Sweater: Forever 21 | Leggings: Forever 21 | Boots:  Xhilaration | Necklace: A’ GACI | Clutch: MMS |
{Photography by: Andrea Cannon
Uncategorized

CALIFORNIA ADVENTURES

My morning was supposed to start with a flight from Boise, ID to San Jose, CA. My afternoon would be spent on a connecting flight to LAX and then to San Luis Obispo.
Instead, we hopped off of the plane in San Jose, rented a car, and decided to take the scenic route on Highway 101 all the way to San Luis Obispo. Along the way, we stopped to shop. 
OK… We stopped every 5 miles.

Stay tuned for more outfits, adventures, and California dreamin’!

Uncategorized

HELLO BEAUTIFUL, SCHOOL IS OUT


Finals are over!
I have just completed my third, and final year, at Boise State University, and I will be transferring to Columbia College in Chicago for the fall semester. 
But this summer… I’m all yours!
Check back with me as I document traveling, working, and getting ready for my big move all while looking cute and trying to stay stress free!

Uncategorized

DIY: EDGY LEGGINGS

We all love leggings! I mean, what’s to hate? They are comfortable, versatile, and light weight. What if I told you that just because it’s starting to get hot outside doesn’t mean you have to ditch your leggings for the summer? Cut up your leggings this season and show some skin while staying comfortable! 

Materials Needed:

  • Leggings (any color, fabric or pattern)
  • Scissors 
  • Ruler
  • Chalk or Graphite (optional)


Slashed Leggings 

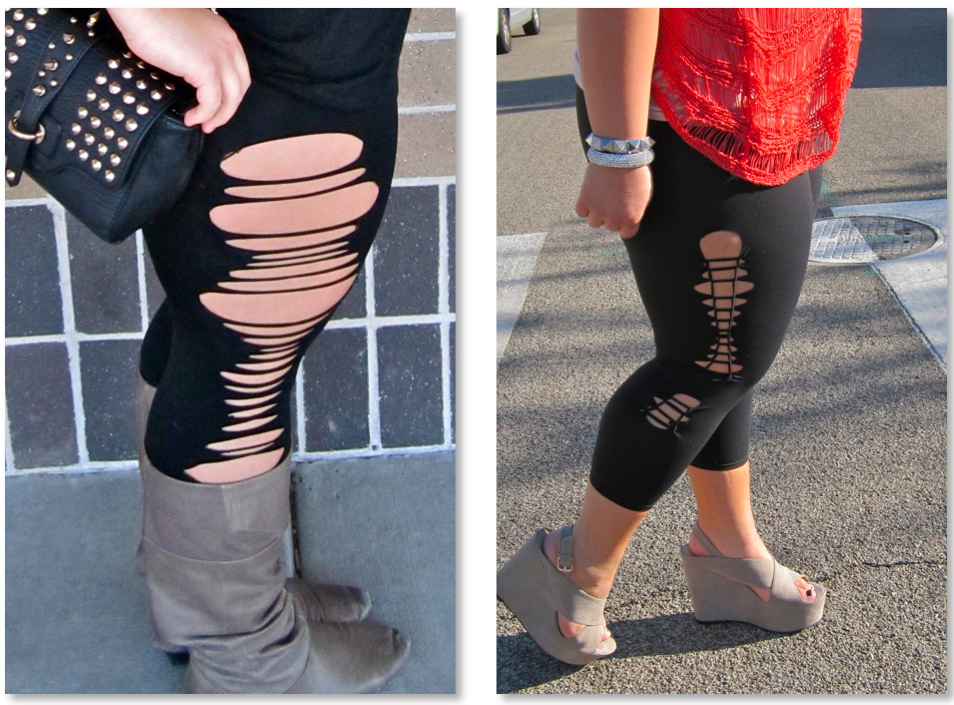
You can catch these leggings on some of the hottest celebs, like Kylie Jenner. This simple cut will give any look an edge.


1.Lay your leggings on a flat surface.
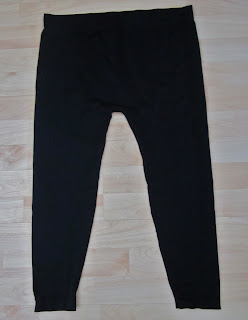


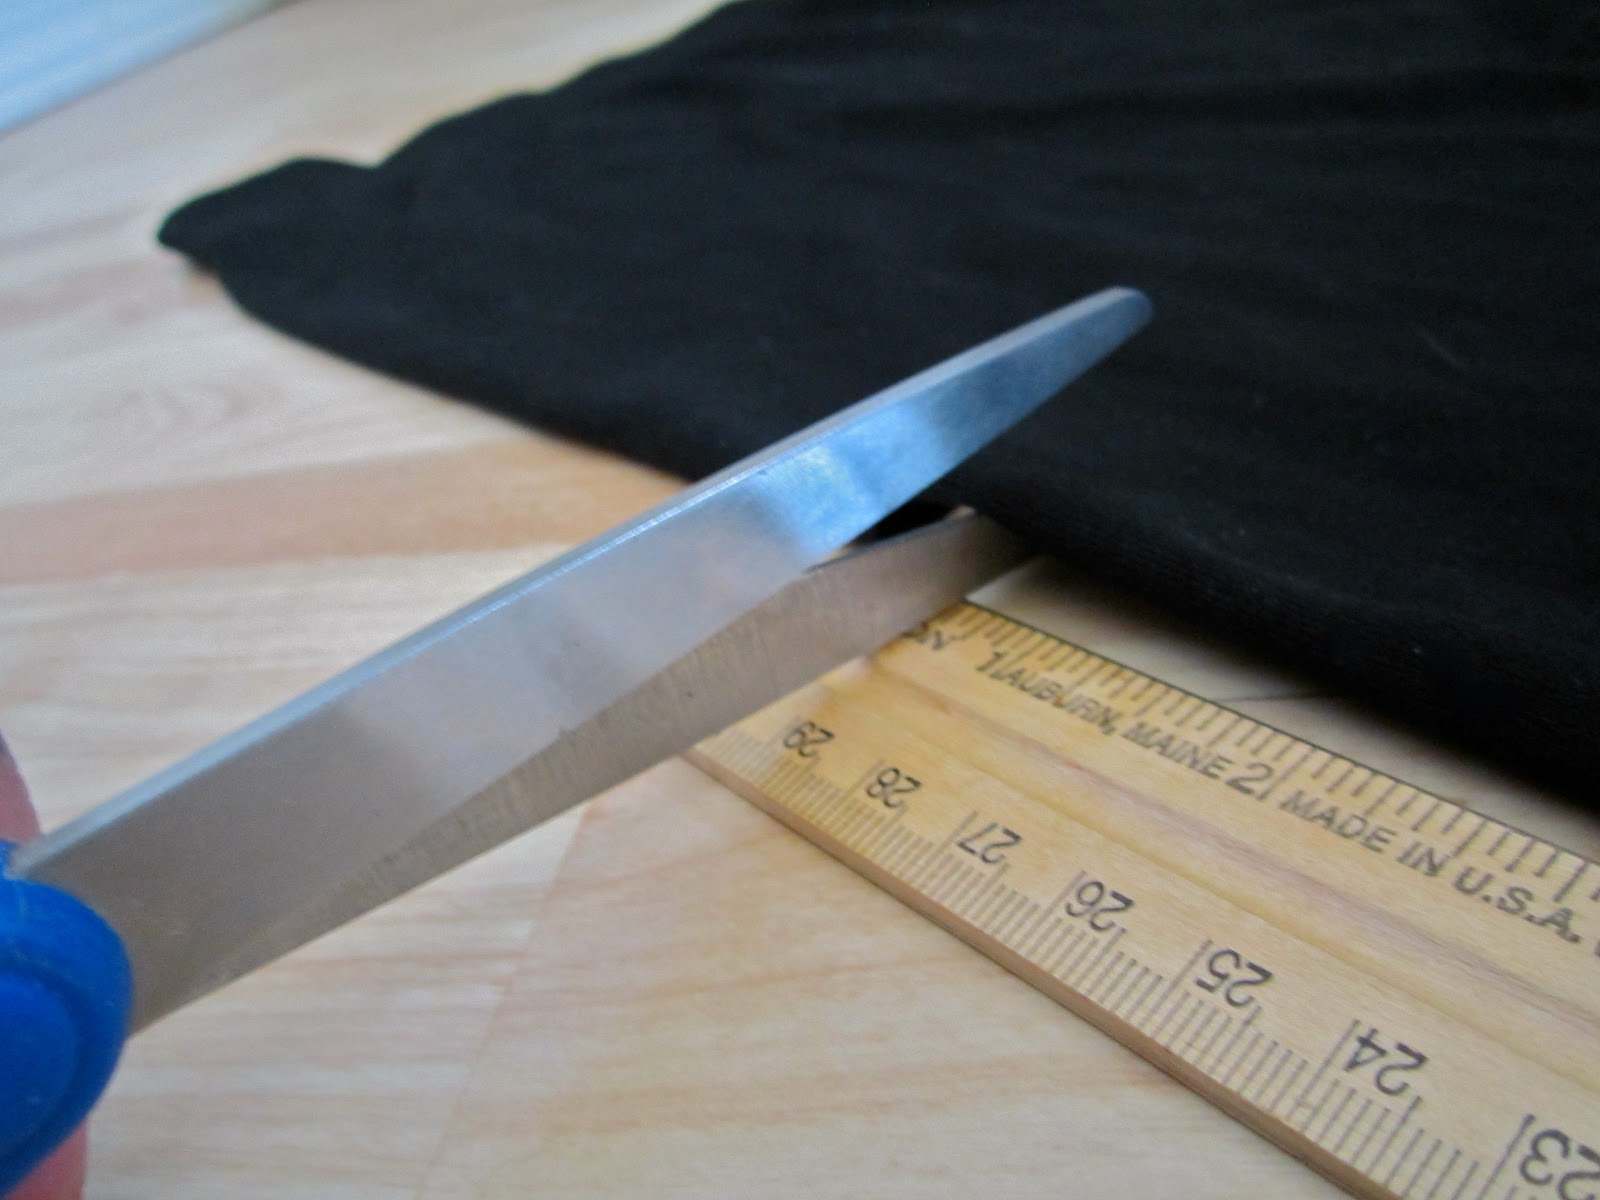
2. On the sides of your leggings, start at the top and measure and mark with chalk or graphite as many cuts as you would like 1/2 inch apart from each other. These cuts can vary in length or be identical. Do not cut too long of a line because the leggings will stretch and make your cuts longer. 


3. Instead of cutting a straight line cut a small carrot shape out. This will show more skin. 


4. This is what the leggings should look like after you are done cutting.


Cut & Tie
This technique is a little more complicated than the slash cut, but a little practice makes perfect! Try this on an old T-shirt to master the weaving technique before you touch your leggings. With this style, you can go with large or small cuts. I recommend making larger cuts for a bigger design. If you vary the sizes of your cuts, your design will be one of a kind.


1. Lay your leggings on a flat surface.


2. On the sides of your leggings, start at the top and measure and mark however many cuts you desire 1/2 inch apart from each other. It is very important that your first cut is the smallest. If this cut is too big you will have a large hole at the top of the design. Make the first cut 1/3 inch long.


3. The cuts you make from here on out can be as long or as short as you would like them to be. I prefer starting with short cuts toward the top and bottom then cutting larger slits in the middle. Continue to cut straight across on the marks you’ve made. 


4. After making all of your cuts unfold your leggings so that the design you made is in the center of the leg. 


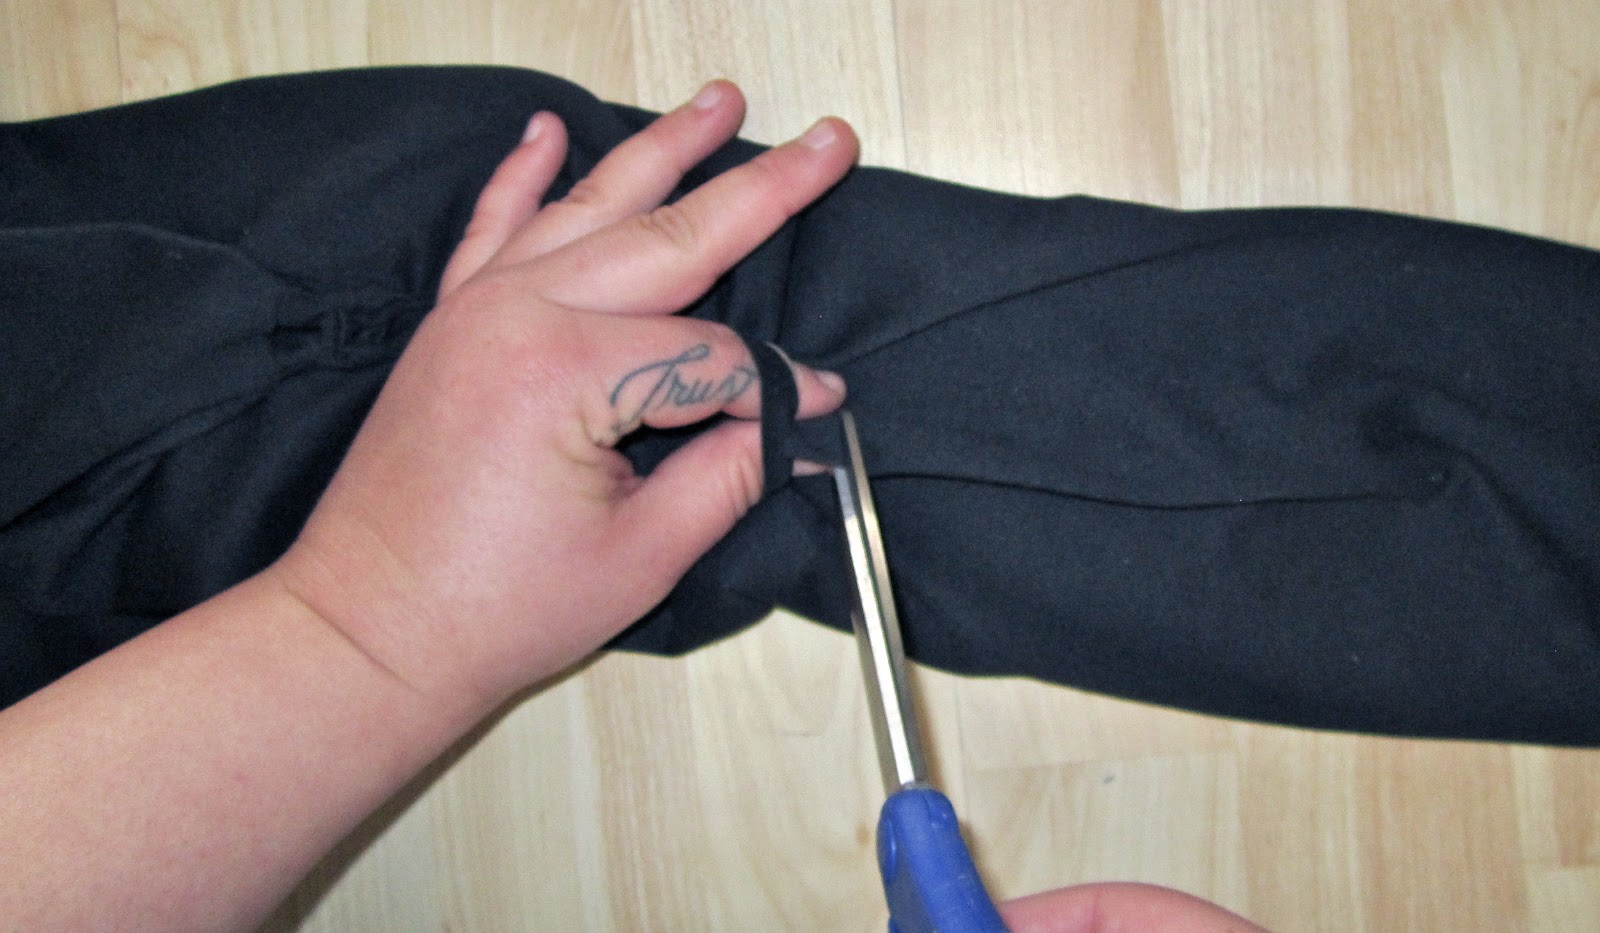
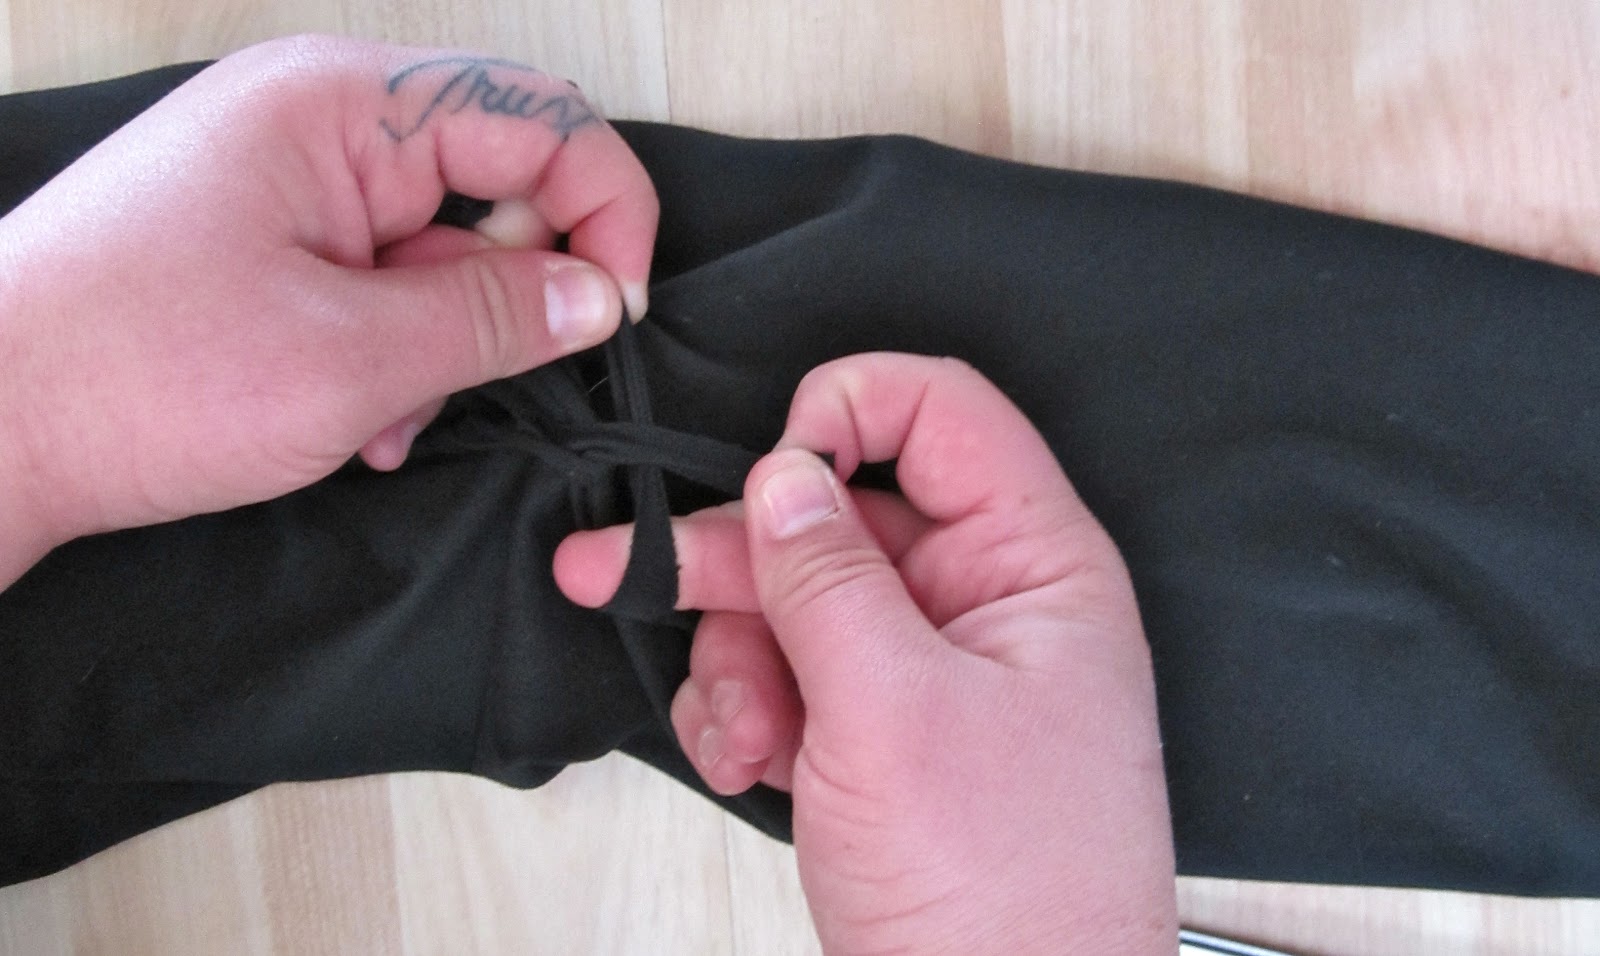
5. Slide your finger under the top loop and curl it over and under the second loop pulling the second loop under the top loop. Then pull the second loop over the top loop. 


NOTICE: The top loop is being held by my right hand and the bottom loop is being pulled through with my left hand. Let go of the top loop (right hand) and continue onto step 6.

6. Repeat by taking the third loop under the second loop and pulling it over as you let go of the second loop. Repeat this with every loop.


7.When you get to the final loop make an additional cut below then cut the loop you are holding on to.


8. Tie each end to the sides of the new loop you have created. 


If you have any questions comment below or email natinthecity@gmail.com

natalieinthecity_