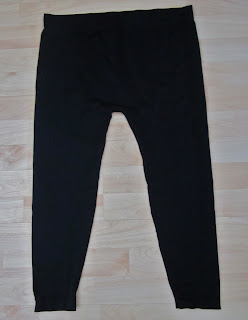
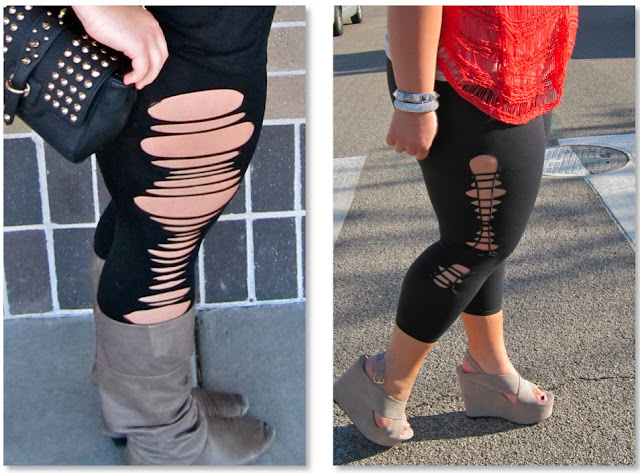
We all love leggings! I mean, what’s to hate? They are comfortable, versatile, and light weight. What if I told you that just because it’s starting to get hot outside doesn’t mean you have to ditch your leggings for the summer? Cut up your leggings this season and show some skin while staying comfortable!
Materials Needed:
- Leggings (any color, fabric or pattern)
- Scissors
- Ruler
- Chalk or Graphite (optional)
You can catch these leggings on some of the hottest celebs, like Kylie Jenner. This simple cut will give any look an edge.
1.Lay your leggings on a flat surface.

2. On the sides of your leggings, start at the top and measure and mark with chalk or graphite as many cuts as you would like 1/2 inch apart from each other. These cuts can vary in length or be identical. Do not cut too long of a line because the leggings will stretch and make your cuts longer.
3. Instead of cutting a straight line cut a small carrot shape out. This will show more skin.
4. This is what the leggings should look like after you are done cutting.
Cut & Tie
This technique is a little more complicated than the slash cut, but a little practice makes perfect! Try this on an old T-shirt to master the weaving technique before you touch your leggings. With this style, you can go with large or small cuts. I recommend making larger cuts for a bigger design. If you vary the sizes of your cuts, your design will be one of a kind.
1. Lay your leggings on a flat surface.
2. On the sides of your leggings, start at the top and measure and mark however many cuts you desire 1/2 inch apart from each other. It is very important that your first cut is the smallest. If this cut is too big you will have a large hole at the top of the design. Make the first cut 1/3 inch long.
3. The cuts you make from here on out can be as long or as short as you would like them to be. I prefer starting with short cuts toward the top and bottom then cutting larger slits in the middle. Continue to cut straight across on the marks you’ve made.
4. After making all of your cuts unfold your leggings so that the design you made is in the center of the leg.
5. Slide your finger under the top loop and curl it over and under the second loop pulling the second loop under the top loop. Then pull the second loop over the top loop.
NOTICE: The top loop is being held by my right hand and the bottom loop is being pulled through with my left hand. Let go of the top loop (right hand) and continue onto step 6.
6. Repeat by taking the third loop under the second loop and pulling it over as you let go of the second loop. Repeat this with every loop.
7.When you get to the final loop make an additional cut below then cut the loop you are holding on to.
8. Tie each end to the sides of the new loop you have created.
If you have any questions comment below or email natinthecity@gmail.com


